Follow these steps to configure your Ultra Low Power- Ultrasonic wind meter.
Please note if you have a ULP RS485, a USB converter for RS485 will be needed for configuring your wind meter. If you have a ULP UART, a USB converter for UART will be needed for configuring your wind meter.
Once you start with the configuration you will find all the parameters that need to be configured. We will show you how to configure section by section.

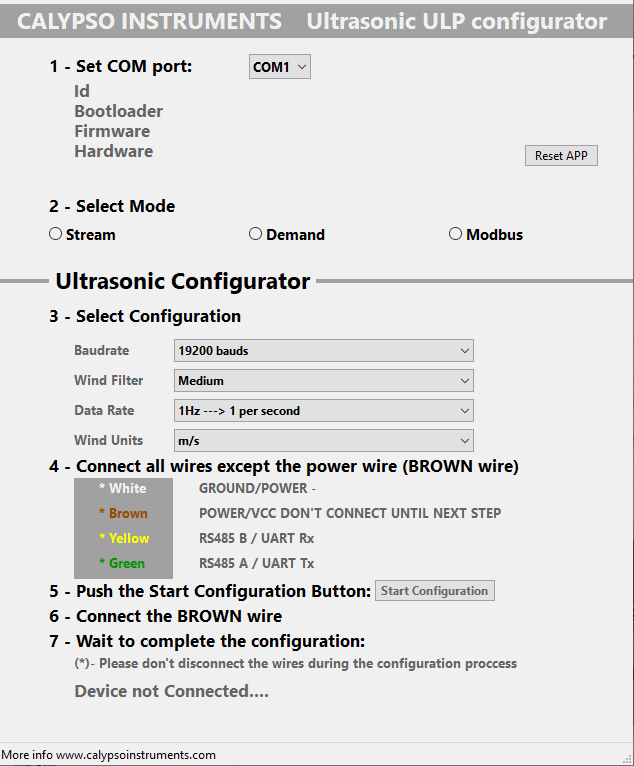
Section 1 : Set COM port
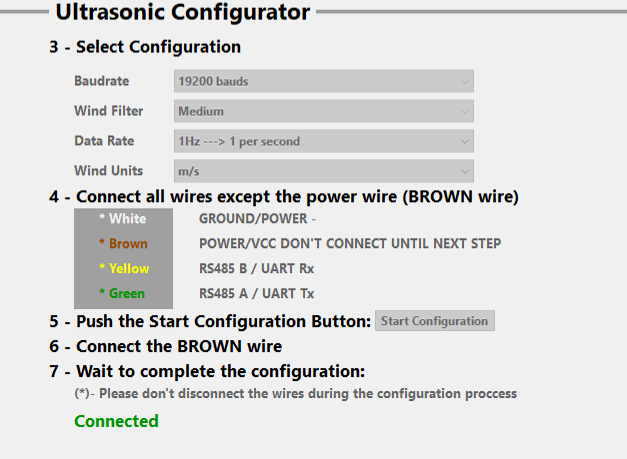
The ULP info will appear when the ULP is connected via USB ,the correct COM port is chosen, the configuration has been started and the brown wire connected. The ULP ID, the bootloader, firmware and hardware version are shown.
Section 2 : Select mode
Stream - Continually giving wind data.
Demand - Requested wind data.
Modbus - Specific protocol.
Section 3: Select configuration
Baud Rates - 2400 to 115200 bauds.
Wind filter - The average of the wind data being received.
Hertz - 1 to 10 hz.
Wind units - Knots / km/h / m/s
4: Steps for configuration
First plug the USB to your computer and then open the configurator. All COM ports of your computer appear. If you’re not sure which one it is, go to Device Manager in your computer and folder: Ports (Com and LPT). It is the one that has just appeared when connecting the ULP via the USB converter. In the configurator app, choose that COM port.
Click on the protocol preferred for your use in Section 2.
Choose the settings preferred in Section 3.
Connect all wires except the brown wire to the USB convertor. Click on ‘Start Configuration.
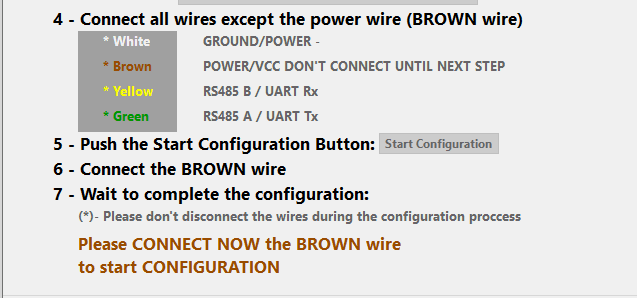
Connect the brown wire when prompted by the configurator app.
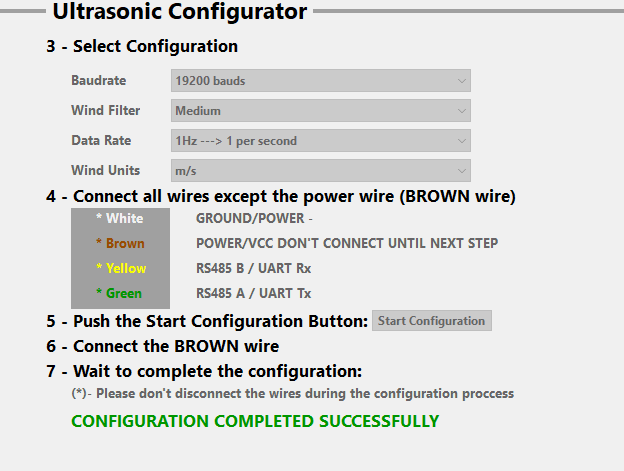
It is configured when it shows “Configuration Completed Successfully” in green at the bottom of the app. Average time: 30 seconds.
It is configured when it shows “Configuration Completed Successfully” in green at the bottom of the app. Average time: 30 seconds.
Alternatively , you can follow these steps on our latest video :


